

Vision Material
Software for Image Analysis in Metallurgy


Software for Image Analysis in Metallurgy
Vision Material is a new solution in the Vision product range, designed specifically for metallurgy. The software has a modular structure and performs quantitative analysis of images. Vision Material software is intended for scientists, metallurgists, laboratory technicians and research groups conducting work with industrial materials. Results are provided in accordance with ISO and ASTM technical standards. This solution is designed to help the engineers working in quality control and product development.
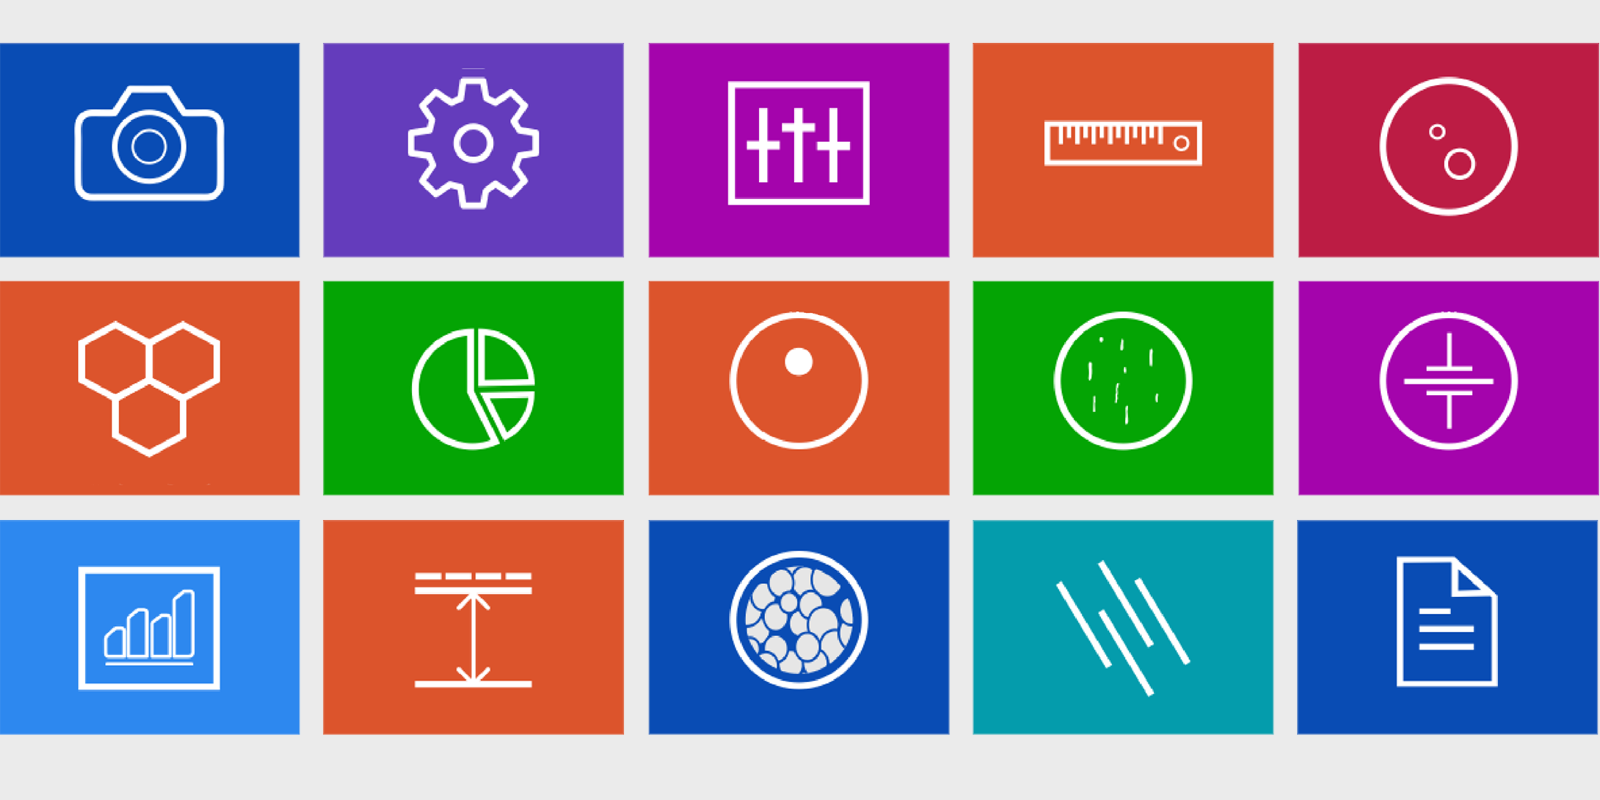
SG Cast Iron or Nodules are also called DUCTILE IRON or SPHEROIDAL GRAPHITE IRON. These nodules are formed from graphite during Solidification. SG IRON module provides image analysis on the basis of ASTM A-247-67, ISO-945-1.
This module can quickly perform automatic, objective and repeatable analysis to determine ferritic & austenitic grain size in steel according to industrial standards. International methods ASTM E-112, E-93,E1181 are applicable.
Segmentation is a method of image partition by intensity / grayscale range of its parts. Since a phase is detected and its area is estimated on the basis of its intensity / grayscale, an option for removing phases from the histogram is also provided. Multiple phases are identified by colored overlays and can be simultaneously displayed in the same field of view.
Pores, due to their contrast with the rest of the image, are relatively easy to detect automatically. This module allows to recognize and measure the porosity in the material according to ASTM B276 Standard. Thresholding is accomplished using gray scale techniques.
Vision Material software allows to identify 4 types of inclusions: Sulfide (A Type), Alumina (B Type), Silicate (C Type), Globular (D Type). Each type is further divided based on the width parameters.
Plating or coating thickness is determined by cross-sectional microscopy method. The specimen is cross-sectioned, mounted, polished and microscopically evaluated for measuring the plating or coating thickness. Sometimes, etching of the core base metal may be necessary to accurately measure the coating or plating thickness. The test method covers measurements of the local thickness of metal and oxide coatings by the microscopical examination of cross sections using an optical microscope.
Iron carbide or Cementite is an intermetallic component of iron and Carbon. While iron Carbide as present in most steels and Cast Iron, it is produced as raw material in the iron carbide process, which belongs to the family of alternative iron producing technologies.
The module is used to determine the depth of Decarburization in structural quality. Partial decarburization is an area where the carbon content is reduced. Total Decarburization is measured in work piece to the limit of the ferritin layer with complete carbon removal, in compliance ASTM E-1077-91 Standard.
This module is designed to analyze spheroidal graphite (nodules). The nodules are separated from non-nodules on pre-defined spheroidicity. Nodules acquire blue color and non-nodule get red color. Report includes: shape (designated from I to VI), size (designated by 1 to 8), number of nodules/mm2.
Grey Iron or Grey Cast Iron is an element that has graphitic microstructure. Grey iron analysis module provides image analysis based on ASTM A-247-67, ISO945-1.
One can select different display/capture sizes along with other setting like white balance, brightness, contrast, Hue, Saturation can be changed on live displayed image. Once all setting are done, image can be captured in appropriate folder for appropriate analysis.
This module is designed to set various parameters for first time when software is installed. The setting options are available to choose ISO/ASTM standard calibration, setting in report format, setting of various parameter on printed image in report. Once all settings are done, you need one button click for all Analysis. All settings are stored till you change them in future. Do not change them in routine, it is not necessary.
Calibration should be performed on all the objectives of the microscope, where Digital Camera is installed. Calibration should be performed only when all hardware are finally fixed. In case of readjustments orreplacement of any part, calibration should be done again.
With the Measurement module one can obtain measurement on manually drawn lines on traces, shapes or by outlining an object, which can be accumulated and logged on to the results worksheet from where they can be stored to a file, printed or transferred to spread sheet for further analysis or statistics.
All reports are saved in the folder and can be viewed anytime. Following points are included in reports: Measurement, Grain Size, Porosity, Decarburization, Segmentation, SG Iron, Gray Iron.
Several folders are available to view any Captured images. The folders are: Nodularity, Flake, Carbide, LineMeasurement, GrainSize, Porosity, Decarburization, Segmentation, SG Iron, Coating Thickness.